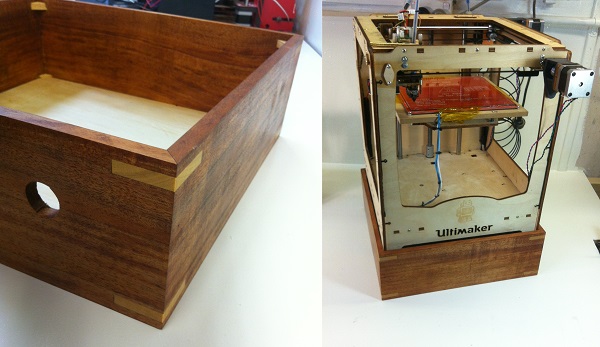
This post describes a simple Mitre Sled project to upgrade my Ultimaker 3d printer to house a new power supply. I recently upgraded the Ultimaker with a heated bed which required extra power and decided to make a box using the Mitre Sled that the printer can sit securely on and house the new power supply.
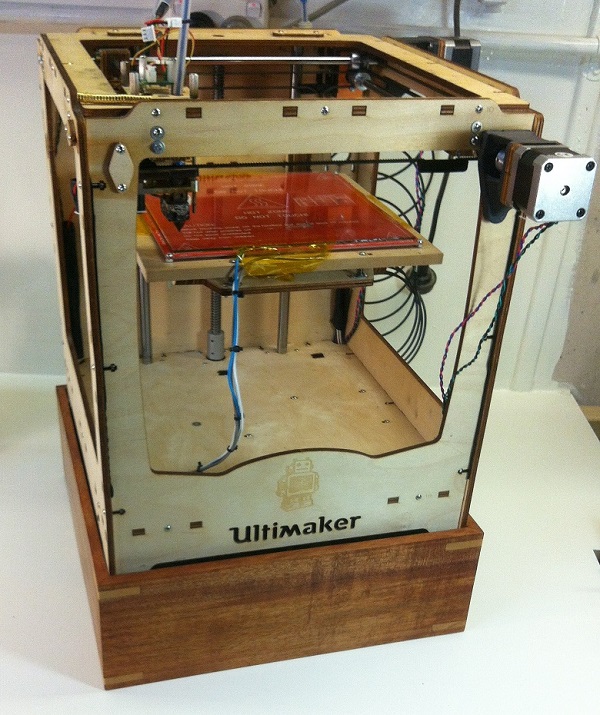
For this project, I decided to make a tray so I could simply place the new power supply into the tray and then sit the printer on top. The printer normally stands on little corner feet, so I decided to use large corner splines to serve as reinforcement of the box and convenient corner platforms for the printer feet.
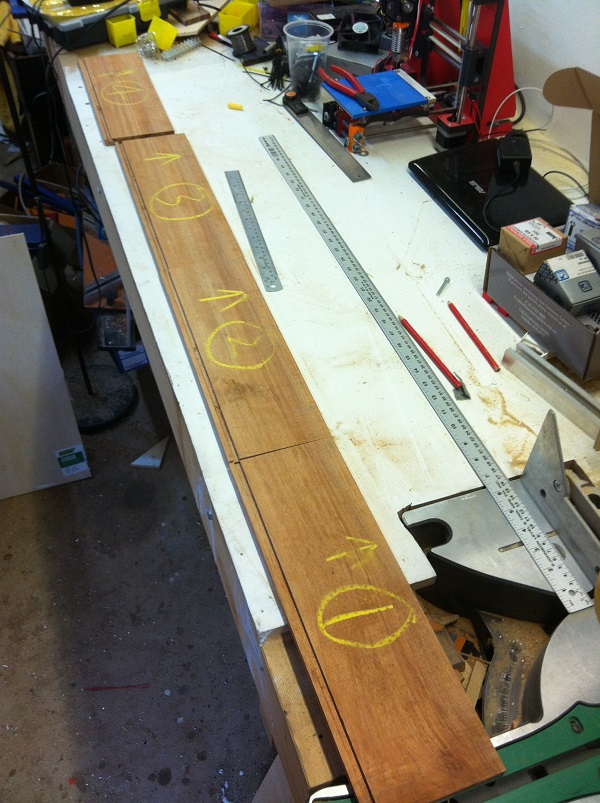
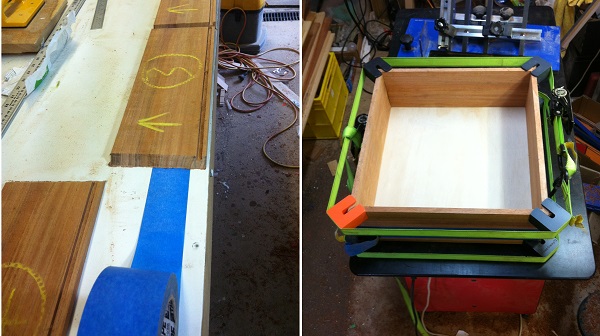
The first stage in the project was to select a timber board, ensure it had parallel sides and then rout a slot in the inside of the box panels for the plywood base. The next step was to cut the panels a little oversize and in sequential order so that the grain of the timber would wrap around the box. The panels were then marked out so I didn’t get them mixed up during assembly.
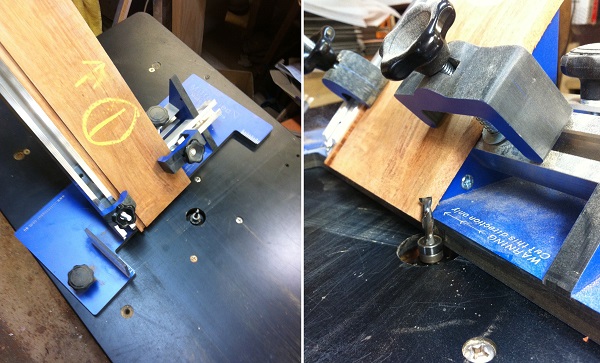
Next, the boards were loaded into the Mitre Sled and the first half of the mitres were cut (on one end of each board only) using a spiral bit with a mounted bearing. The first half of the mitres were cut on all 4 boards first before flipping the boards around and cutting the mitre on the other end of the board. The sliding stops on the Mitre Sled fence were used to accurately position each board and cut the boards to length.
Dry assembly of the box was made easy by sticking the mitred box sides down onto a long piece of tape and wrapping the box sides around the pre-cut plywood base. Satisfied with the fit of the sides and base, the box was glued up using our cast frame clamps and a ratchet on the top and bottom of the box.
After allowing the glue to dry, it was time to cut the splines for the printer feet to sit on. The Spline Jig was used in the upright position and a long straight spiral bit was used to cut the slots. The cutter depth was incrementally increased after each pass to complete the slots and I also decided to cut the same slot on the top and bottom of the box for symmetry.
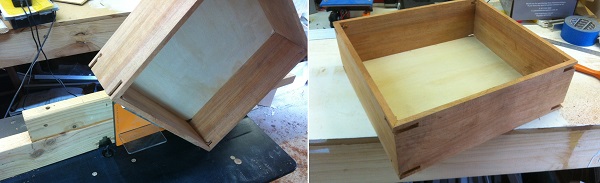
To finish the box, I glued in the splines, drilled a hole for the power switch, sanded the splines flat with the box sides and oiled. The printer fits neatly on the splines and there is sufficient room around the base to allow airflow around the electronics in the printer base.