
This is not a Mitre Maker project, but it does highlight another handy use for the router table, and it was a good practice project to learn some new techniques before undertaking my next kayak build.
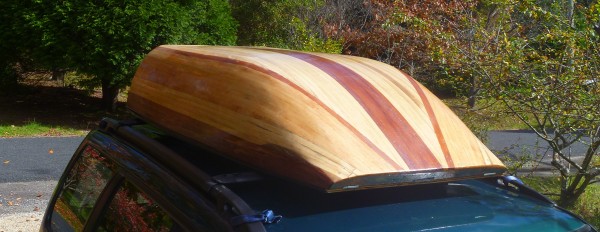
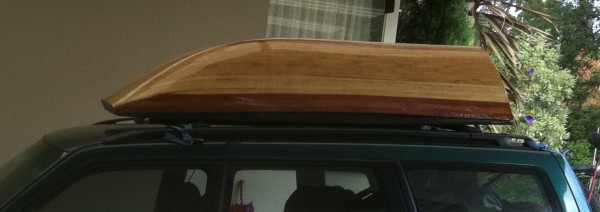
With school holidays fast approaching and knowing there wouldn’t be enough room in the car for all the camping gear on our next family trip, I decided we needed a cargo pod for our car. I didn’t just want a grey plastic pod, so I decided to make one out of timber and fibreglass which allowed me to try out a few kayak building techniques. The timber I used was strips of red cedar, paulownia and a few strips of jacaranda too.
I had previously stripped up some paulownia and red cedar into 25mm x 7mm strips and had been storing these in my shed for a while. The strip building technique that I used called for routing a bead on one side of the strip and a cove on the other so that the strips would fit snugly together on both flat and curved surfaces.
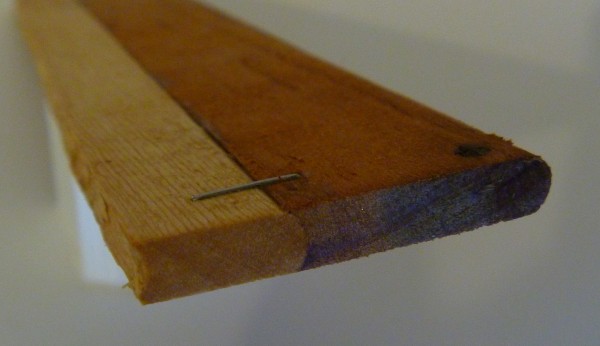
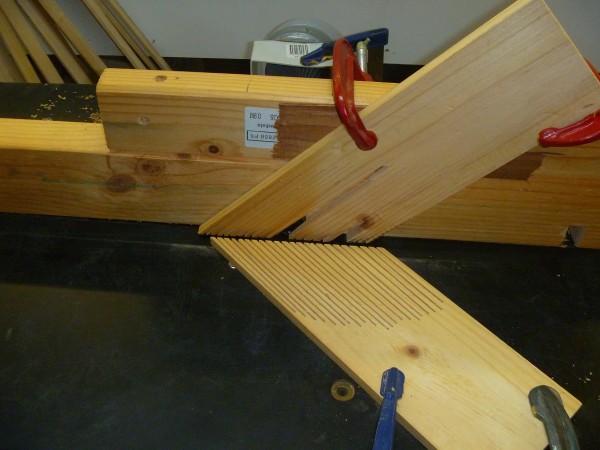
I used the canoe slat bits from Carb-i-tool and set up the router table with feather boards so I could feed through all my strips in quick succession. The whole process of putting the bead and cove on all my strips took less than 2 hours.
After routing the strips I got stuck straight in and built a form to lay the strips on. The form was not made to any specific dimensions, I just went with something that I thought would look good on the car and give us enough extra space. I really should have put a little more thought into this stage as it would have made building the base of the cargo pod a lot easier, but I hadn’t thought that far ahead yet.
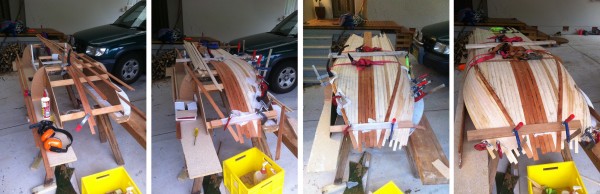
The strips went on very easily and were stapled to each other while clamps were used to hold the strips to the form. The wood strips were glued to each other by running a thin bead of wood glue down the cove of each strip before installing it. The staples keep the strips snugly together. I snapped a few strips here and there during this process due to tight curves. More use of ‘cheater strips’ may have prevented these errors.
After finishing laying up the strips and armed with a few ratchet straps, I flipped the pod over, gave it a rough sand on the inside surface and applied a couple of layers of fibreglass and epoxy. At this stage there was no ‘back’ on the pod.
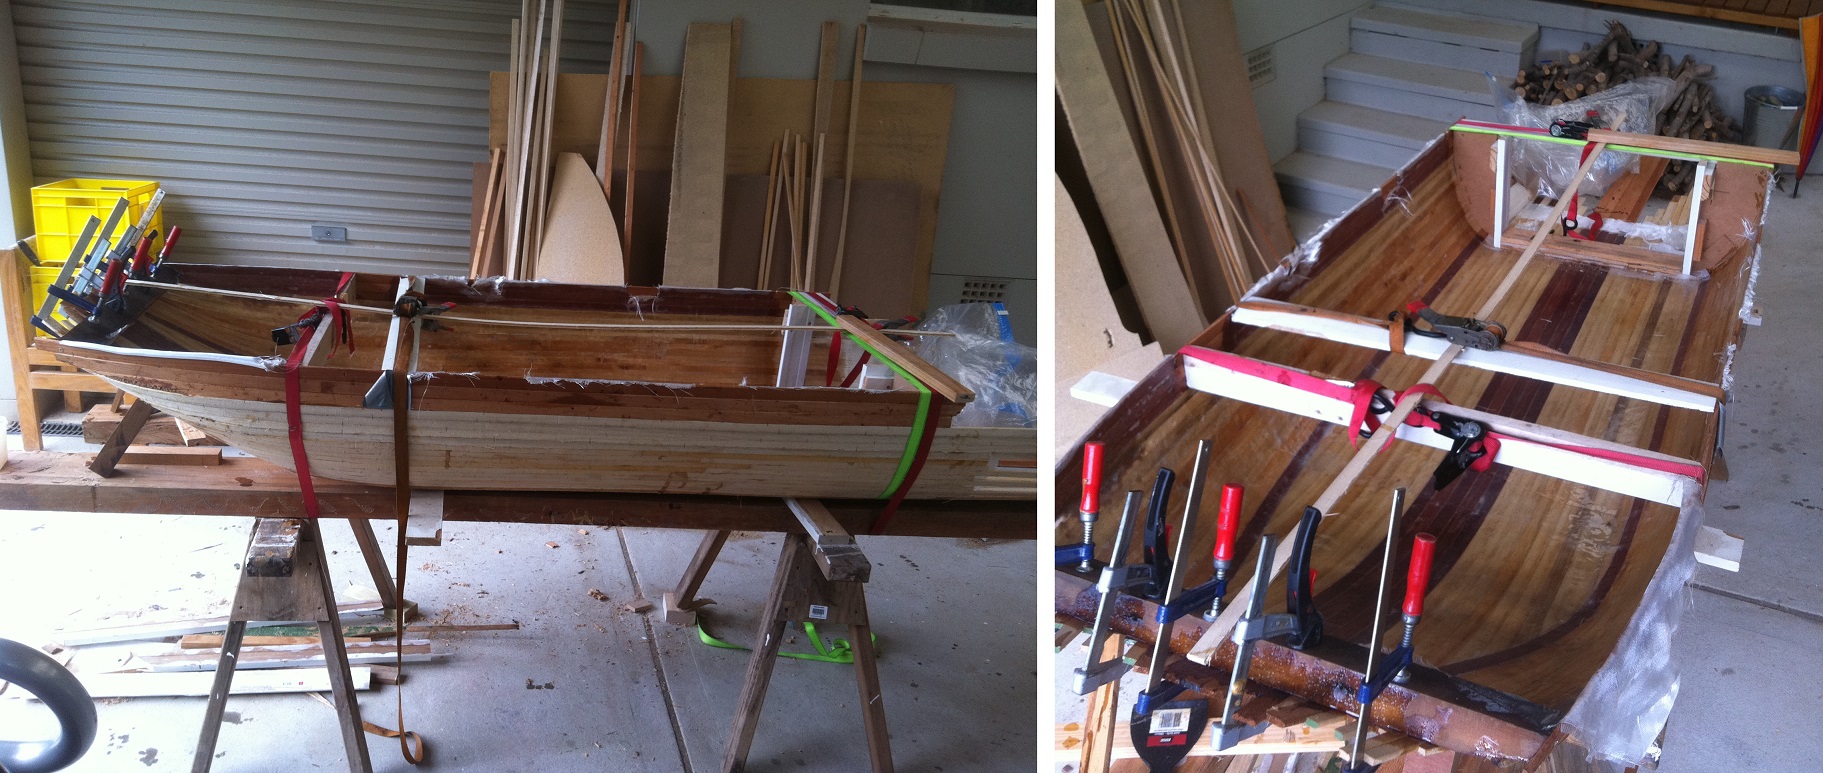
After the epoxy on the inside of the pod had cured, it was flipped over and all the staples were removed before sanding. A staple gun with adjustable tension would have saved me a bit of time here. Both paulowina and red cedar are very soft and the staples tended to be driven in deep, making staple removal a little tedious.
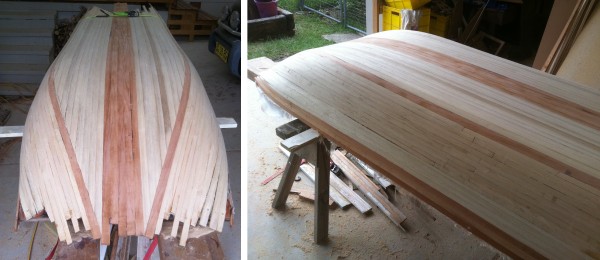
A few extra little filler strips were needed here and there to plug up a few gaps, particularly at the front of the pod. It was at this stage that I trimmed the strips at the back of the pod and stuck on a back piece.
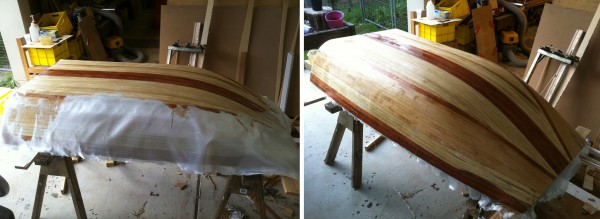
Satisfied with the sanding and overall shape, the next step was to glass the outside of the cargo pod. Two layers of fibreglass cloth were used and a second coat of epoxy was applied to fill in the cloth weave after the first coat had cured. After a light sand, the cargo pod cover was ready for varnishing.
The next stage of the build was the base. I built this out of 12mm ply with high sides that fit snugly inside the pod cover. The pod cover is attached to the front with hinges. The ply base was painted inside and out with epoxy to make it impervious to water. 4-5 coats of marine varnish was applied on the cargo pod cover to give it a bit of UV protection and a nice shine.
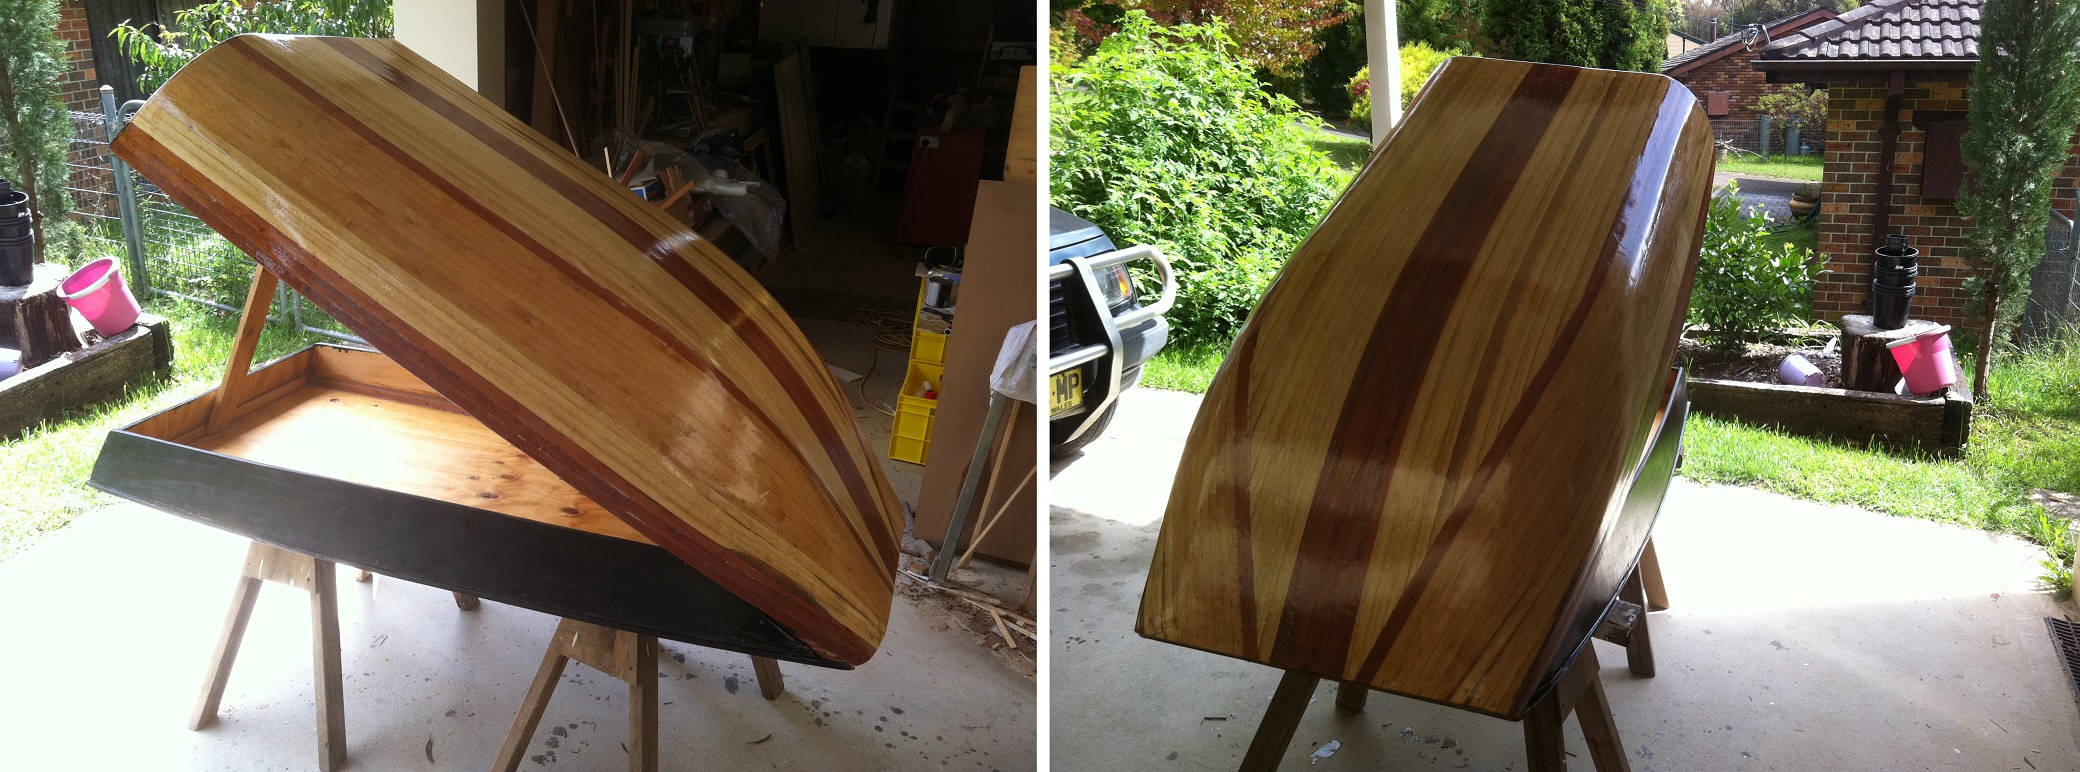
To finish the cargo pod and ensure that it can be fastened down to my car, I drilled 4 holes in the pod base that allow the pod to be bolted directly to my roof racks. The pod cover is made fast by two bolts passing through the rear face of the pod cover and screwing into t-nuts installed in the base. At some stage, I may install a gas strut to keep the pod open for packing and unpacking, but for now, a handy stick kept in the pod works just as well. At 24kg, the cargo pod is a little on the heavy side, however much of this weight is in the 12mm ply base. If building another one, I would consider using lighter weight ply on the base, or strip building that component as well to really cut the weight down.
Overall, this pod worked really well on our first camping trip and was a great little project to make something useful while learning new skills for my next kayak building project.
